Your Complete Beginner Setup Guide for Growing Herbs Indoors
Setting up your first indoor herb garden doesn't require expertise, expensive equipment, or a lot of space. What it requires is understanding the core elements that make herbs thrive — and building your setup around those needs from day one.
This guide walks you through every decision you need to make: which containers to use, what soil to buy, how to get your lighting right, and how to position everything for maximum success.
Phase 1: Planning Your Indoor Herb Space
Assessing Your Available Light
Before buying a single pot, spend a day observing your home's light patterns. Track how many hours each window receives direct sun. This will determine whether you can rely on natural light alone or whether you need to supplement with grow lights.
Here's the honest assessment matrix:
- 6+ hours south-facing sun: Most herbs can grow without artificial light
- 4–6 hours east or west-facing: Works for low-demand herbs; add a small grow light for basil and thyme
- Under 4 hours or north-facing: Grow lights are essential — this is non-negotiable for food production
Choosing Your Growing Location
The best indoor herb locations combine three things: light access, warmth, and easy access for daily care. Kitchen counters near windows are ideal — you'll use the herbs regularly and notice problems quickly. Other excellent options include:
- Floating shelves near south-facing windows
- A dedicated grow light setup in any room
- A small grow tent in a corner or closet
Phase 2: Choosing Your Containers
The Critical Rule: Drainage First
Every container you use for indoor herbs must have drainage holes. This is not optional. Without drainage, water accumulates at the root zone, starving roots of oxygen and causing root rot — the most common cause of indoor herb failure.
Container Material Comparison
Terracotta pots: The gold standard for herbs. Porous clay allows excess moisture to evaporate through the walls, creating a more forgiving watering environment. Perfect for Mediterranean herbs (thyme, oregano, rosemary). Heavy and can crack in frost (not relevant indoors, but worth knowing).
Plastic pots: Lightweight, affordable, and retain moisture longer than terracotta. Better for moisture-loving herbs like basil, parsley, and cilantro. Choose dark-colored plastic to protect roots from light.
Ceramic pots: Beautiful, weighty, and moisture-retentive. Works well for most herbs. Ensure they have drainage holes — many decorative ceramic pots do not.
Self-watering containers: An excellent investment for busy growers. A reservoir at the bottom provides water as the soil dries, reducing watering frequency dramatically and preventing both over and under-watering.
Container Sizing Guide
- Individual herbs (basil, chives, mint): 4–6 inch pots
- Medium herbs (parsley, thyme, oregano): 6–8 inch pots
- Large herbs (rosemary, lemon balm): 8–12 inch pots
- Mixed herb planters: 10–14 inches minimum for 2–3 compatible herbs
Phase 3: Selecting the Right Soil
Never Use Garden Soil Indoors
Garden soil is designed for outdoor use. In containers, it compacts severely, blocks drainage, and often carries weed seeds, insects, and soil-borne diseases. Always use a quality potting mix formulated for containers.
The Ideal Indoor Herb Potting Mix
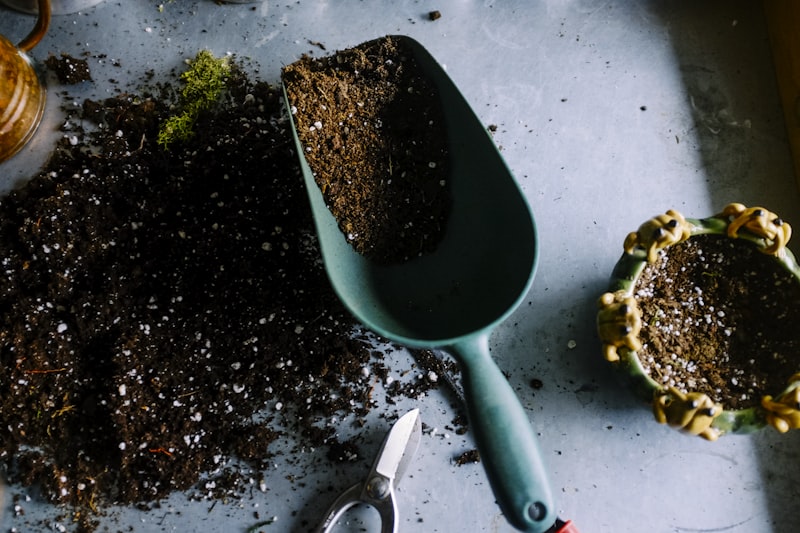
The best indoor herb soil balances three characteristics: drainage, aeration, and moisture retention. You can buy a quality all-purpose potting mix and improve it with perlite:
- 70% quality peat-based or coco coir potting mix
- 20% perlite (for drainage and aeration)
- 10% vermiculite (for moisture retention and nutrient holding)
This blend provides the perfect balance for most culinary herbs.
Specialty Mixes
For Mediterranean herbs (thyme, oregano, rosemary), add extra perlite — aim for a 60/40 mix of potting mix to perlite. These herbs evolved in rocky, fast-draining Mediterranean soils and suffer in overly rich, moisture-retentive mixes.
Phase 4: Setting Up Your Lighting
Understanding Light Intensity for Herbs
Plants measure light in PPFD (Photosynthetic Photon Flux Density) or lux. Most food herbs need 2,000–4,000 lux minimum. A shaded indoor window provides 500–1,000 lux. A quality LED grow light positioned 12–18 inches above plants provides 3,000–10,000 lux — enough for vigorous food production.
Choosing a Grow Light
For a beginner setup of 6–12 herb pots, look for:
- Full-spectrum LED (covers both blue and red wavelengths plants need)
- At least 20–30 watts actual draw (not "equivalent" watts)
- Adjustable height — you'll need to raise the light as plants grow
- Timer compatible — herbs need 12–16 hours of light per day under artificial lighting
Light Schedule for Indoor Herbs
Run your grow lights for 14–16 hours per day for most culinary herbs. Use an inexpensive timer to automate this. Consistency matters — irregular light schedules stress plants and reduce productivity.
Phase 5: Planting Your Herbs
Starting from Seeds vs. Transplants
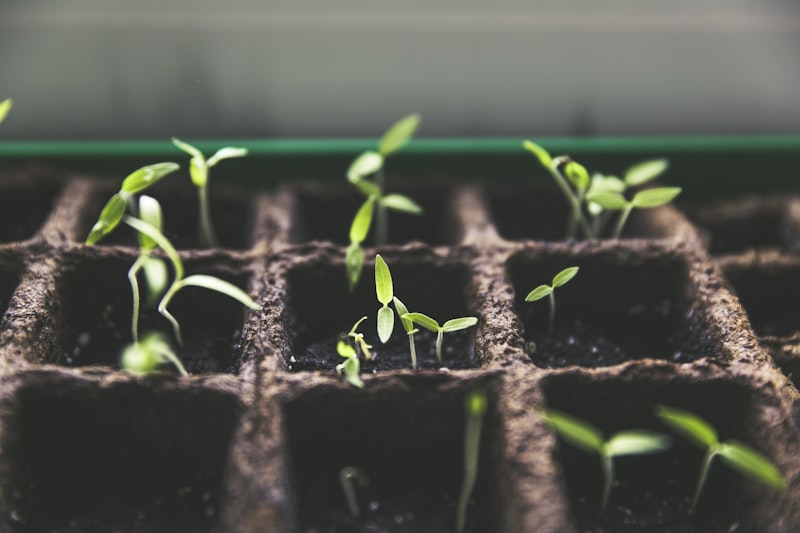
For beginners, purchasing established transplants from a garden center gives you faster results and higher confidence. However, learning how to grow herbs indoors from seeds unlocks unlimited variety and dramatically lower cost. Seed starting requires a heat mat (to maintain 70–75°F) and patience — most herb seeds take 7–21 days to germinate.
The Planting Process
- Fill your container to within 1 inch of the rim with your prepared soil mix
- Make a small depression in the center for the transplant root ball
- Place the plant, ensuring it sits at the same depth as it was in its original pot
- Fill around the root ball and firm gently with your fingers
- Water thoroughly until it drains from the bottom
- Place under grow light or in your best natural light window
Phase 6: The Care Routine
Watering Schedule
Rather than watering on a fixed schedule, water by feel. Check the moisture level every day for the first two weeks until you understand each plant's consumption rate. The finger test: insert your finger 1–2 inches into the soil. Water when dry; wait when moist.
Fertilizing
Container herbs deplete soil nutrients faster than garden plants. Begin fertilizing 4–6 weeks after planting with a diluted liquid fertilizer — half the recommended dose. Feed every 2–4 weeks during active growth. Reduce or stop during winter unless using grow lights.
Harvesting to Encourage Growth
Harvesting is cultivation. For leafy herbs like basil, always cut just above a leaf node (where two leaves branch from the stem). This stimulates two new branches from each cut, doubling future harvest points. For herbs like chives and parsley, cut from the outside in, leaving the youngest growth at the center.
Recommended Setup Tools
Placeholder — Recommended Indoor Gardening Tools:
- Self-Watering Herb Planters Set
- Full-Spectrum LED Grow Light with Timer
- Perlite for Soil Amendment
- Organic Indoor Herb Potting Mix
- Seedling Heat Mat
- Liquid Organic Fertilizer
Frequently Asked Questions
How much does it cost to set up an indoor herb garden?
A basic setup for 6 herbs costs $40–$80: pots ($15–$25), potting mix ($8–$12), and a basic grow light ($20–$40). A more complete setup with a self-watering system and quality LED panel runs $100–$180, but lasts for years and pays for itself quickly in saved grocery costs.
Can I start herbs in the same pot and transplant later?
Yes. Start 2–3 seeds per small cell and thin to the strongest seedling. Once roots begin emerging from the bottom of the cell, it's time to transplant into an individual container. This is called "potting up" and causes minimal disruption to the plant when done carefully.
How do I prevent pests on indoor herbs?
Prevention is easier than cure. Use quality potting mix (not garden soil), ensure good airflow, avoid overwatering, and inspect plants weekly. If pests appear, neem oil spray is safe for culinary herbs and effective against most indoor insect issues.
Should I keep herbs in the kitchen?
The kitchen is ideal — you'll use them regularly and notice problems early. However, avoid positioning herbs directly above the stove where heat spikes and fumes can stress them. A counter a few feet away from the cooking area, or a windowsill, is perfect.