How to Grow Indoor Herbs: A Complete Step-by-Step Guide
This is the guide you need if you want to go from "I've never grown anything" to "I'm harvesting fresh herbs from my kitchen every week." Every step is laid out in sequence, with specific actions, timing, and troubleshooting built in.
What You'll Need Before You Start
Gather these supplies before starting. Having everything ready prevents the biggest beginner mistake: stopping mid-setup because you're missing a key item.
Essential Supply List
- Herb seeds or transplants (start with basil, mint, chives, and parsley)
- Containers with drainage holes (4–6 inch for individual herbs)
- Quality potting mix with perlite
- Spray bottle for misting seeds
- Watering can with a gentle rose head
- Grow light (if window light is inadequate)
- Seedling heat mat (for starting from seed)
- Plant labels or popsicle sticks + waterproof marker
- Small saucers for drainage collection
Step 1: Assess and Prepare Your Growing Space
Stand in your growing location at midday and observe the light. Count the hours of direct sun the space receives. If you're using a grow light, position it at the appropriate height — 12–24 inches above where the plants will sit — and run it for 14 hours to simulate a good growing day.
Clear the space, wipe down shelves or counters, and position your saucers where the pots will sit. Ventilation matters: ensure there's some air circulation in the space, even if just a slightly open window or a small fan running periodically.
Step 2: Prepare Your Containers
Check every container for drainage holes. If your decorative pot doesn't have one, drill one (a 1/4 inch drill bit works on ceramic and terracotta) or use it as an outer sleeve for a plastic nursery pot that does have drainage.
Add a small piece of window screen, mesh, or a coffee filter over the drainage hole to prevent soil from washing through while allowing water to flow freely.
Fill your containers:
- Add 1 inch of perlite at the bottom for extra drainage
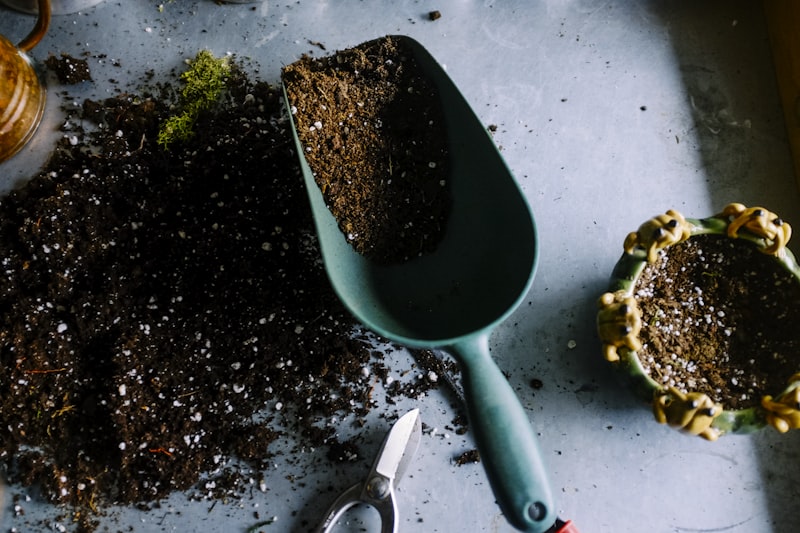
- Fill with your potting mix to within 1 inch of the rim
- Gently press to remove large air pockets without compacting
- Moisten the mix thoroughly before planting
Step 3: Start Your Seeds (or Plant Transplants)
If Starting from Seeds
Learning how to grow herbs indoors from seeds is cost-effective and deeply satisfying. Here's the exact process:
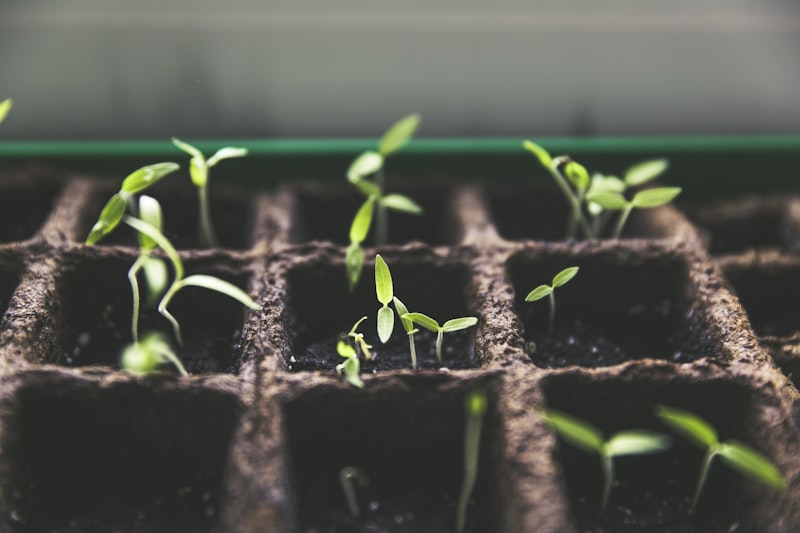
- Fill small seed-starting cells or a seedling tray with seed-starting mix (lighter texture than regular potting mix)
- Make a small depression (1/4 inch deep) in each cell
- Place 2–3 seeds per cell
- Cover lightly with additional seed mix and mist gently with a spray bottle
- Place the tray on a heat mat set to 70–75°F
- Cover with a plastic dome or plastic wrap to retain moisture
- Mist daily — soil should stay evenly moist, never soggy
- Check for germination daily. Remove dome when seedlings emerge (typically 7–21 days depending on species)
If Using Transplants
- Water the transplant in its nursery pot the day before planting (fully hydrated roots transplant better)
- Remove the plant from its nursery pot by squeezing the sides gently and turning it upside down
- Loosen the root ball slightly if roots are tightly compacted
- Place in the center of your prepared container at the same depth it sat in the nursery pot
- Fill around the root ball and press down firmly to eliminate air pockets
- Water thoroughly until it drains from the bottom
Step 4: Thin Seedlings (for Seed-Started Plants)
Once seedlings have developed their first set of true leaves (the second set of leaves, which look like the actual plant), thin to one seedling per cell. Choose the strongest, most upright seedling and pinch or snip the others at soil level (don't pull — this can disturb the roots of the remaining plant).
Wait until seedlings are 2–3 inches tall and have developed 2–4 true leaves before transplanting them to their permanent containers.
Step 5: Establish Your Care Routine
Watering Protocol
For the first week, check moisture levels every day. Stick your finger 1–2 inches into the soil. If it feels dry, water until it drains from the bottom. If it still feels moist, check again tomorrow. This daily checking builds the intuition for each plant's specific needs that experienced gardeners rely on.
After 2–3 weeks, you'll naturally understand how quickly each container dries and can settle into a more natural routine. Most herbs in 4–6 inch containers need watering every 2–4 days indoors.
Light Management
If using a grow light, run it for 14–16 hours on a timer. Position it so all plants receive direct light — plants at the edge of a light's coverage often receive half the intensity of plants in the center. Rotate containers every week to ensure even exposure.
The First Fertilizer Application
Hold off on fertilizing for the first 4–6 weeks — fresh potting mix contains enough nutrients for initial establishment. After that, begin feeding with a diluted liquid fertilizer (half the recommended dose) every 2–4 weeks.
Step 6: First Harvest
This is the moment everything becomes real. The temptation is to wait until plants are very large before harvesting. Resist it. Regular harvesting from an early stage trains plants to become more productive over time.
Harvest Guidelines by Herb
- Basil: Begin harvesting when the plant has 6–8 leaves. Cut just above a leaf node. Never remove more than 1/3 of the plant at once.
- Mint: Pinch sprigs from the top. This stimulates branching and bushier growth.
- Chives: Cut to 1–2 inches from the base with scissors. They'll regrow in 1–2 weeks.
- Parsley: Cut outer stems at the base, leaving inner growth to continue.
- Thyme and oregano: Harvest tip growth, leaving at least 2/3 of the plant intact. Never cut into the woody stem zone.
Step 7: Maintain and Expand
Once you have one successful cycle of herbs growing, replanting, and producing, you're ready to expand. Add 2–3 more varieties. Upgrade your light if plants are reaching for the source. Consider adding a second growing shelf for increased capacity. Begin experimenting with leafy greens and microgreens alongside your herbs.
Timeline: What to Expect Week by Week
- Week 1–2: Seeds germinate (or transplants establish). Water daily monitoring.
- Week 3–4: True leaves develop. Begin thinning. First signs of vigorous growth.
- Week 5–6: Plants reach harvestable size. Begin regular light harvesting.
- Week 7–8: Full production. Regular harvests every 5–7 days. Begin fertilizing.
- Month 3+: Succession plant first-generation herbs. Expand to new varieties.
Recommended Tools for Step-by-Step Success
Placeholder — Recommended Indoor Gardening Tools:
- Seedling Heat Mat with Thermostat
- Seed Starting Trays with Humidity Domes
- Full-Spectrum LED Grow Light Panel
- Herb Seed Collection (10–15 varieties)
- Organic Seed Starting Mix
- Precision Watering Can
Frequently Asked Questions
How do I know when herb seedlings are ready to transplant?
Seedlings are ready to transplant when they have 2–4 true leaves and the roots begin to emerge from the drainage hole of their starting cell. Transplanting too early (before roots are developed) stresses the seedling. Waiting too long allows roots to become pot-bound.
What if my herb seedlings are leggy and falling over?
Leggy seedlings are a sign of inadequate light. Move them closer to your light source immediately. You can also gently press the seedlings deeper into the soil to support them. For future plantings, position the light closer (6–12 inches above seedlings).
When can I start harvesting from transplants?
Wait until transplants have had 1–2 weeks to establish in their new container before beginning harvesting. You'll know they're established when you see new growth emerging from the plant.
How do I keep herbs producing long-term?
The keys are: consistent light, regular harvesting (which prevents flowering), feeding every 2–4 weeks, and refreshing potting mix annually. Most herbs also benefit from being cut back hard (by half) twice a year to encourage fresh, vigorous new growth.